Can you restore deleted files from a Synology NAS hard drive? How to retrieve Synology data? If you have any questions, please refer to this DRS Tools. This blog explains the process of Recovering Data from Synology in detail.
About Synology NAS
Synology NAS, commonly known as Synology Network Attached Storage, is a type of storage device designed by Synology Inc. This multipurpose solution allows you to create a private cloud for smart data management. Synology NAS can be used for a variety of tasks, the most frequent of which are listed below.
- Easily and securely store terabytes of data.
- With a home or office network, you may access your files from anywhere and at any time.
- Share and sync files across other systems, such as Windows, macOS, and Linux.
- Host websites and email addresses
- Protect data from ransomware assaults.
- Enhance team productivity using collaboration tools.
Although Synology NAS is a relatively safe storage device, random faults do occur on it, and some of them may result in data loss. If you have lost data from your Synology NAS, simply continue reading to learn how to recover it.
What Causes Synology NAS Data Loss?
Many consumers have complained about data loss when using Synology NAS. What is the source of this frustrating problem? To help you learn more about it, this post covers various possible causes of Synology NAS data loss.
- Accidental file deletion
- Unexpected power outage or faulty system shutdown
- Virus or malware infection.
- Initialized or formatted Synology NAS device. Hard drive failed.
- NAS file system corruption.
- Possible hardware failures.
If you lose essential files owing to the aforementioned reasons, you must do Synology data recovery using a Synology file recovery application. If you are unsure how to do this, please refer to the following content. There are a few effective NAS file recovery solutions available.
Solution 1: Recover Deleted Data from Synology NAS using Recycle Bin
When you create a shared folder, the Recycle Bin option is turned on by default. When you enable this functionality, a subdirectory will be created to save deleted files. So, if you accidentally delete files, you can try to restore them from the Recycle Bin. How does Synology restore deleted data from the Recycle Bin? Here is a detailed handbook.
Ensure that the Recycle Bin is enabled.
- Open DiskStation Manager, then navigate to Control Panel > Shared Folder.
- Select the shared folder from which you wish to restore files and then click Edit.
- Under the General tab, select the box next to the Enable Recycle Bin option. If you want Recycle Bin to be only accessible to administrators, select Restrict access to administrators only.
- Click OK to save your changes.
Now, use File Station to locate and open the desired shared folder.
Go to the #recycle subdirectory, then right-click the files or folders you want to recover.
From the expanded menu, pick Copy to/Move To, followed by Move To.
After that, select a location to retrieve the erased data.
Solution 2: Recover Deleted Data from Synology NAS Using Synology Backup Solutions
Synology offers a variety of tools for setting up backup solutions, including Synology Drive Admin Console, Shared Folder Sync, and Hyper Backup. If you employ Synology backup solutions before data loss occurs, you will be able to restore erased files and folders. Follow the instructions below to do Synology data recovery in this manner.
Synology Drive Admin Console
When you download Synology Drive Server, it installs the Synology Drive Admin Console package immediately. It is only intended for administrators and aids in the management of sync settings as well as the better monitoring of corporate properties and Synology Drive resources.
The Version Explorer tool lets managers see and access older versions of files that have been changed or deleted in linked folders. This type of Synology NAS data recovery is explained below.
Launch Drive Admin Console. Then go to Overview and select Version Explorer.
Pick a date and time to look through files from certain points in time in the My Drive folders or Team Folders of different people.
Click Change in the top right corner to switch to the second view role.
Click the “Action” button and pick “Show deleted files.” Then, Version Explorer will show you any files that you have removed.
Find the file or folder you want to get back and highlight it. Then, figure out what you want and pick the right option.
Browse older versions
This function lets you look through, download, or bring back older versions of the file or folder.
Restore: This feature lets you get the target file or folder back to a certain point in time.
You can download the file or folder you want right away.
Hyper Backup
Hyper Backup is one of the primary backup solutions for Synology NAS equipment. It allows you to back up system configurations, packages, and user data to Synology NAS devices such as local shared folders, external hard drives, network drives, and the public cloud.

The backup data for multiple-version Hyper Backup operations will be saved in a Hyper Backup backup (.hbk) file. This file allows you to simply restore them using Hyper Backup, Hyper Backup Explorer, or Hyper Backup Vault. Here, we will mostly describe how Synology recovers deleted files from an existing Hyper Backup task.
Launch the Hyper Backup package.
Click the Restore icon on the left panel. Then, select Data.
In the prompted window, choose the backup task containing the deleted files and then click Next.
Select. Do not restore system configuration, then click Next.
Use the timeline at the bottom of the following window to locate the desired version. Then, select the folders containing the files you wish to recover and click Next.
Select which applications to restore and click Next. If prompted, click Yes to continue.
In the Data Restoration Summary window, click Done to start the Synology data recovery.
Solution 3: Recover Deleted Data from a Synology NAS using Windows Backup & Restore
Backup & Restore
Windows 7 comes with backup software that lets you go back and get data that you accidentally deleted. If you use Synology to back up your NAS device, this tool is likely what you will use to finish the data recovery process. What does Backup and Restore Windows 7 from Synology do to get back things that I’ve lost? Read on to learn more about this.
Connect your Synology NAS drive to your computer. Then, press Windows + I to access Windows Settings and pick Update & Security.
Go to Backup. Then, on the right side, select Backup & Restore (Windows 7).
Click. Choose another backup to restore files from.
Select the Synology NAS drive that is currently attached and click Next.
Next, click Search, Browse for Files, or Browse for Folders to locate and pick the files or folders you want to restore.
Once completed, click Next. To recover the missing files or folders, select In the original location and then click Restore. Alternatively, you can select another place for data recovery by clicking Browse after selecting In the following location.
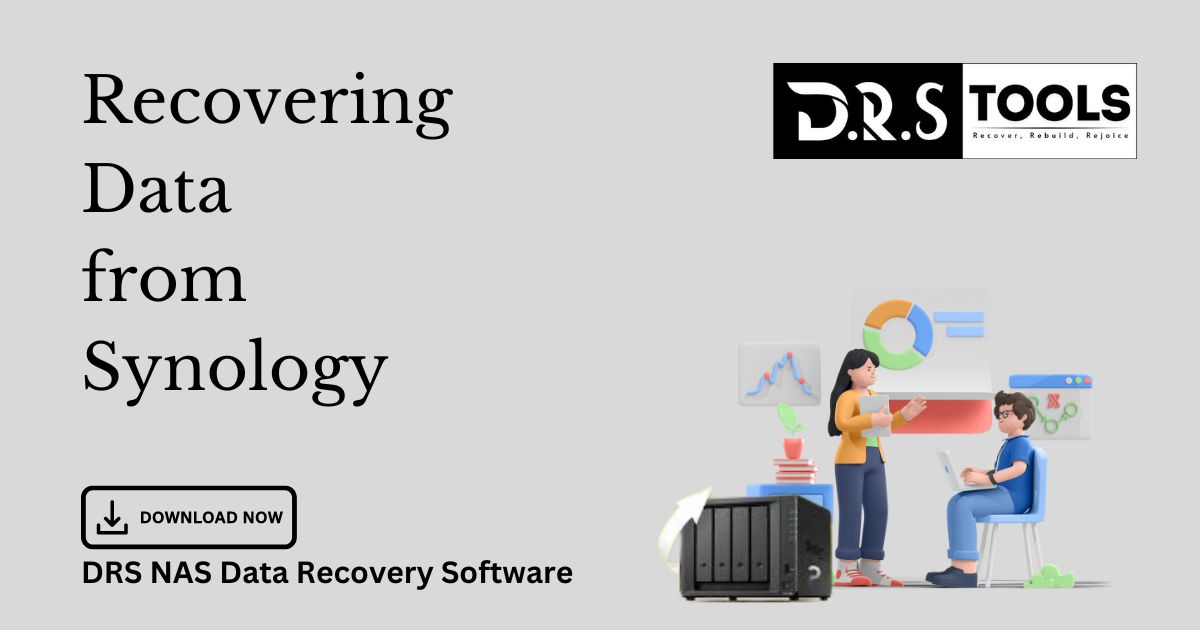
Solution 4: Recover Deleted Data from Synology NAS with DRS Tools.
DRS is an effective and dependable data recovery tool. This utility allows you to recover deleted or lost data from a variety of storage media, including internal/external hard disks, USB flash drives, SD cards, and more. It also helps you to recover deleted or lost data with just a few clicks.
In addition to data/hard drive recovery, DRS Tools includes a variety of disk management options. For example, you can use it on a hard drive, clone a hard drive, check the health of a hard drive, do an MBR2GPT conversion, and more.
To successfully accomplish Synology NAS data recovery using DRS Tools, follow the instructions outlined below.
Connect the Synology NAS drive to your computer. Next, download and install DRS NAS data recovery software on the same computer.
Launch the Synology file recovery application to access its primary interface. Then select Data Recovery from the top toolbar.
Move your pointer to the desired hard drive and click Scan. The scanning procedure may take quite some time to complete. Simply wait patiently.
Once the scan is complete, choose all of the necessary files from the full scan results. Then, click the Save button.
In the pop-up box, select a directory and click OK to save the recovered data. You’d better save these files on another drive. Otherwise, any deleted or lost data will be overwritten.
In the End
DRS Tools compiles a list of likely causes of Synology data loss as well as viable Synology data recovery methods. If you wish to restore erased data from Synology Nas disks, check out this post. If you have any troubles with Synology data recovery, please leave a remark in the comments section below.
Read More:
2 Responses