Here’s a step-by-step approach to recovering data from a NAS unit. Because, these instructions can be used in the event of logical data loss on Buffalo TeraStation and LinkStation, Iomega StorCenter, Synology, LaCie, Intel, and other RAID-based NAS models from other suppliers.
It should be noted that this handbook assumes you have removed the hard drives from the NAS box and connected them to a computer’s motherboard or an external USB to SATA/IDE converter, as instructed. Now, it is typically recommended that you use a Windows-based computer. Because, operating system does not support Linux file systems and will not write to the source device. If you want to learn more about this, please visit the page on picking the best OS for NAS recovery Software.
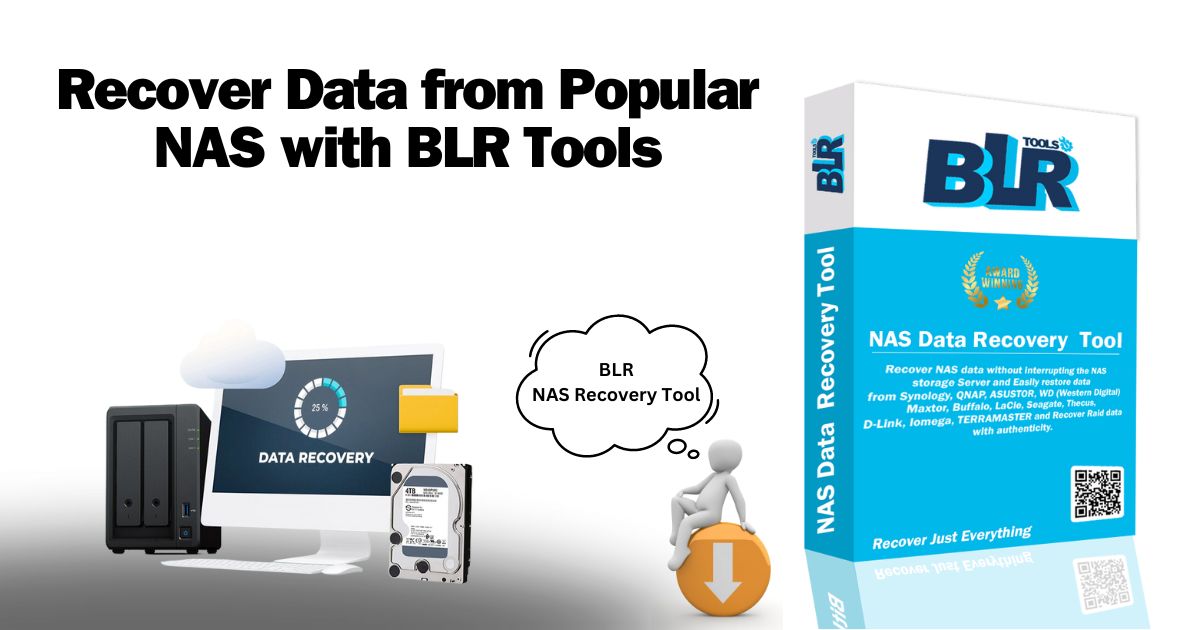
To utilize BLR RAID Recovery Software to restore files that have been deleted or lost from your NAS, follow these steps:
1. Install and start the software.
After launch, the application identifies all associated disks and displays them in the list of linked devices in the left pane of the main screen. Then, each disk will have numerous partitions, as listed below; however, the precise number and sizes may vary depending on the NAS model/manufacturer.

If you have any difficulties with the installation of the utility, please refer to the installation manual for BLR RAID Recovery Software.
2. Find the constructed RAID that holds user data.
Scroll down the list to see if the storage was automatically recreated. There should be numerous RAID setups at various levels. Then, consider their size; the larger one usually contains user files. However, the red hue on the storage icon indicates that the array is in degraded state.
3. Assemble the RAID manually.
If the structures specifying the RAID configuration have become corrupted, the software may be unable to reassemble it automatically. In this situation, you need to manually assemble the RAID.
- Open RAID Builder.
To open RAID Builder in the software interface, press the “New RAID” button.
- Add each component to the RAID
All of the drives in a single NAS normally have the same structure of disk partitions, with the largest one holding user data. Now, the array should only include “data” partitions, not full drives. Then, Double-click each of them, or pick the partition and select the “Add to RAID” context menu item. However, if one of the disks is missing, put a placeholder instead of its data partition.
- Adjust the drive order and RAID parameters.
Using the arrow-shaped buttons, arrange the drives in the desired order. Check the RAID parameters in the “Virtual RAID configuration” sheet and make any necessary changes.
- Configure RAID.
When you click the “Build this RAID” button, the software adds the array to the device list.
4. Check the file system.
Typically, the mounted RAID storage will include a single partition. After that, select it to determine the condition of the data. If the files are intact, you have properly constructed the RAID.
5. Scan the storage.
To recover the lost data, run the storage scan using the appropriate tool from the toolbar. Then, deselect any superfluous file systems or leave them as is, then click “Start scan”.
6. Select and copy the needed files and directories.
After that, when the scanning procedure is complete, select “Yes” to preserve the scan result for future reference. After that, look through the files and directories discovered by the software. In the other hand, to save the necessary items, click “Define selection,” check them off, and then “Save selection”. In the pop-up box, specify the destination folder for the recovered data, ensuring that it is not on any of the source drives.
Also Read : Steps For Data Recovery From WD My Cloud Home NAS