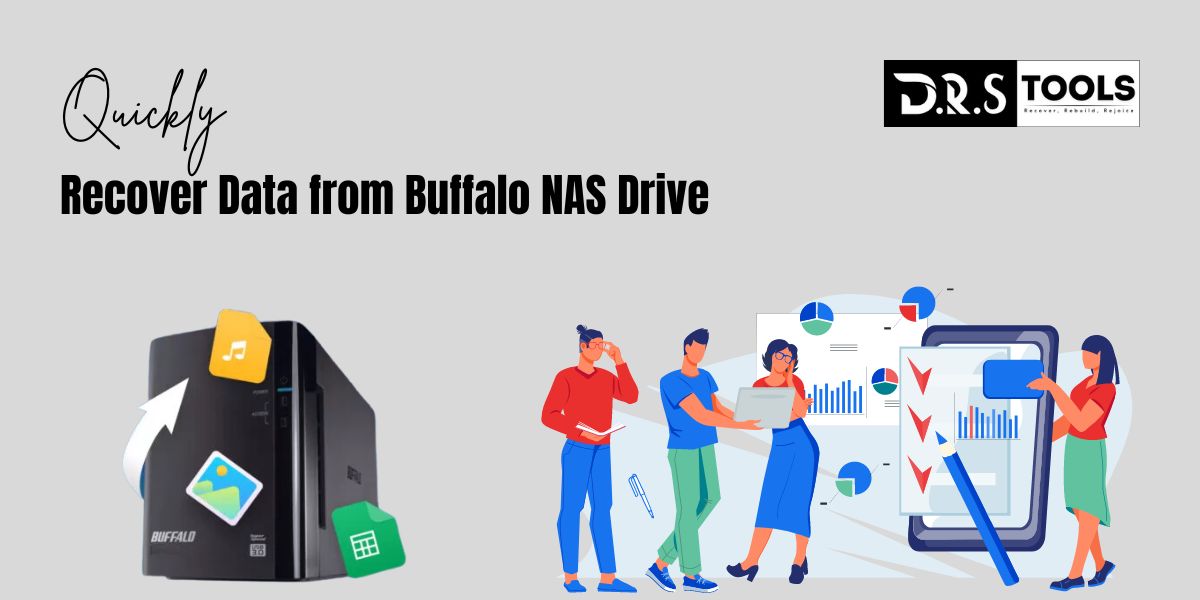
As long as you can find a trustworthy method to do it, you can readily retrieve data from Buffalo NAS disk. We shall present you two types.
Buffalo NAS Device:
Designed as a network-attached storage system, the Buffalo NAS device lets authorised users—on-site and remote alike—access files, documents, and other data without using a direct connection. Important data can also be backed up to Buffalo NAS to stop any loss.
Now Buffalo has two main series of NAS devices: LinkStation and TeraStation, perfect for keeping big corporate data. They have an incredible transfer rate and provide superior security against ransomware and cyber-attacks. Usually comprising several hard drives running the XFS file system, their capacity spans 2TB to 40TB. Furthermore, the company NAS drives provide a cloud backup to guard your data.
Typical Reasons of Data Loss on Buffalo NAS Drive
Buffalo NAS boasts outstanding quality, security, dependability, and simplicity of use. Data loss could still result, though. The following explains some causes of data loss on Buffalo NAS drive:
- unintentionally deleted
- ineffective NAS drive
- flawed firmware.
- Physical damage includes overheating, electrical damage, etc.
Buffalo NAS Data Recovery Program Empowerment
Recovering data from Buffalo NAS device can be difficult. It takes time and is not absolutely assured. Using dependable data recovery software will be a fantastic option if you want to retrieve data from Buffalo NAS drive simply. Now, we highly advise you to try DRS Tools. It is really simple and even beginners would find it easy.

- Supported are a large spectrum of NAS drives including Buffalo, Synology, WD My Cloud, QNAP, etc.
- compatible with more than 200 file formats, including photos (x3f file recovery), audio files, videos, compressed files, etc. Word/Excel/PPT documents,
- Recover Buffalo NAS disk or other devices in Windows 7, 8, 10, 11, etc., and Windows Server readily and rapidly with a success rate of more than 95%.
- All-inclusive data loss events including virus infection, inaccessible disk error, accidental deletion, disk format (e.g., recover data from a formatted drive), etc.
Complete Guide on Recover Buffalo NAS Hard Drive
Buffalo NAS data recovery starts by disconnecting the Buffalo hard disk and linking it to a PC running data recovery software. Should your computer lack an extra slot, kindly also get ready with a connector (such as USB to SATA).
Get and set up a dependable data recovery program DRS Tools. It will show every one of the accessible drives. Hover the cursor over Buffalo NAS drive to click Scan.
Starting using two superior scanning techniques, DRS Tools will rapidly seek for missing or deleted files. Files on the Buffalo disk can be previewed and filtered. Two techniques follow here:
- Click Filters and choose a file type, say Documents.
- Open the Other Missing Files tab and navigate to the folder with erased files.
Click Recover xxx files and choose Buffalo NAS data once the scanning process finishes. You will next be asked to choose a site. Kindly choose a different place than the original one.
Notes :
- The restore button will show the chosen files together with their whole size. It helps you ascertain the veracity of the unearthed documents.
- Saving the restored files back to their original place can lead to more data loss or corruption.
- You can also recover WD My Cloud drive, Seagate NAS, Synology NAS, etc as well as other devices.
Extra Help: Buffalo Data Recovery Service
Buffalo claimed “No data recovered, No Charge,” teaming with DriveSavers, an award-winning data recovery company. There is no shipping cost. Except for direct attached storage, it also provides a safe network connected storage unlike conventional service. However, this will so directly upload data to your new NAS drive without using another device.
Should you register a qualifying TeraStations and the device still under its original warranty, the DriveSavers will provide you free data recovery services for a device with straightforward logical problems. Getting NAS as target media calls for more expenses.
Visit Buffalo’s official website to recover Buffalo NAS hard disk. After that, Enter the comprehensive details and send your request. It will check your gadget for free and get back to you using the designated email address. Data loss degree will affect the price. If you agree, they will launch a data recovery operation and, should the recovery effort be successful, will have your data returned.
Useful Buffalo NAS Data Protection Solution
Using free Windows backup software, AOMEI Backupper Standard, will help you to guarantee the security of your kept contents and documents by backing Buffalo NAS device.
- It lets you choose events and devices as well as daily, weekly, monthly manual or automatic backups.
- Your data can be stored on another NAS device, or other devices such an external hard drive, USB drive, network drive, and cloud drive.
- Its Create Bootable Media capability lets you backup Buffalo NAS without running Windows.
Get and install AOMEI Backupper Standard free backup program. Starting it, choose Backup and File Backup.
- Click Add Folder or Add File > choose Share or NAS.
- Add Share or NAS Devices by clicking. Type a display name, network path, user name, and password then click OK to add Buffalo NAS.
- Choose Buffalo NAS one or more folders.
Click the menu, choose a local path, share or NAS, or cloud drive, then list a device, say an external disk.
- Click Daily, Weekly, Monthly, Event Trigger, or USB Plug-in after Enable Schedule Backup.
- Choose daily, weekly, monthly depending on frequency of change in Buffalo NAS data. Usually, the backup interval is shorter the more often data is changed.
- Support system startup, system shutdown, user logon and user logoff event trigger. Choose them in line with your working style.
- USB plug in: a function for plug-and-pull. Automatically backup Buffalo NAS to a USB drive upon drive plug-in.
Click Start Backup to backup data on Buffalo to the external hard drive after last verifying the chosen data on the Buffalo NAS system.
FAQs About Buffalo NAS Data Recovery
- First prepare an Ethernet wire, connect the Buffalo NAS, and run it on.
- Press the Power Button second. Wait when the LED for power stops flashing shuts.
- Enter the NAS device’s IP address by opening a web browser. Use NAS Navigator instead should the IP address remain unknown.
Step 1: Connect USB devices to the Buffalo LinkStation.
Pressing the blue function button comes second. It will copy data from the USB straight to the LinkStation on demand.
Step 2: After the USB disk is off-mounted, safely remove it.
Step 1: Enter the model number on the Buffalo downloads page. Choose the firmware update utility then from the firmware part.
Step 2: Click Extract All after a right-click on the zip file.
Step 3: Open the file TSUpdater.exe and choose the particular unit to be updated. Typing the password, click OK.
Final Thought
For Buffalo NAS among other storage devices, DRS Tools is a dependable and efficient data recovery solution. Whether it’s unintentionally erased or in another data loss situation, you may quickly retrieve data from the Buffalo NAS disk with it. NAS data recovery software is the best recovery tool for get back your deleted data.
With a success rate of over 95%, it supports two sophisticated scanning techniques and recovering about 200+ file kinds. Buffalo NAS devices are simply one of numerous NAS brands including QNAP, Synology, Lacie, Iodate, and more.
Read More:
2 Responses