You can simply recover data from a Buffalo NAS disk as long as you locate a dependable method to do it. We’ll show you two different sorts.
What is the Buffalo NAS Device?
The Buffalo NAS device is an efficient network-attached storage system that allows authorized users, both on-site and remote, to access files, documents, and other data without the need for a direct connection. You can also backup crucial data to the Buffalo NAS to avoid data loss.
Buffalo now offers two central NAS device series: LinkStation and TeraStation, which are excellent for storing massive commercial information. They provide excellent cyber-security and ransomware protection, as well as a fast transfer rate. They typically comprise numerous hard disks that use the XFS file system and have capacities ranging from 2TB to 40TB. In addition, the corporate NAS disk includes a cloud backup feature to protect your data.
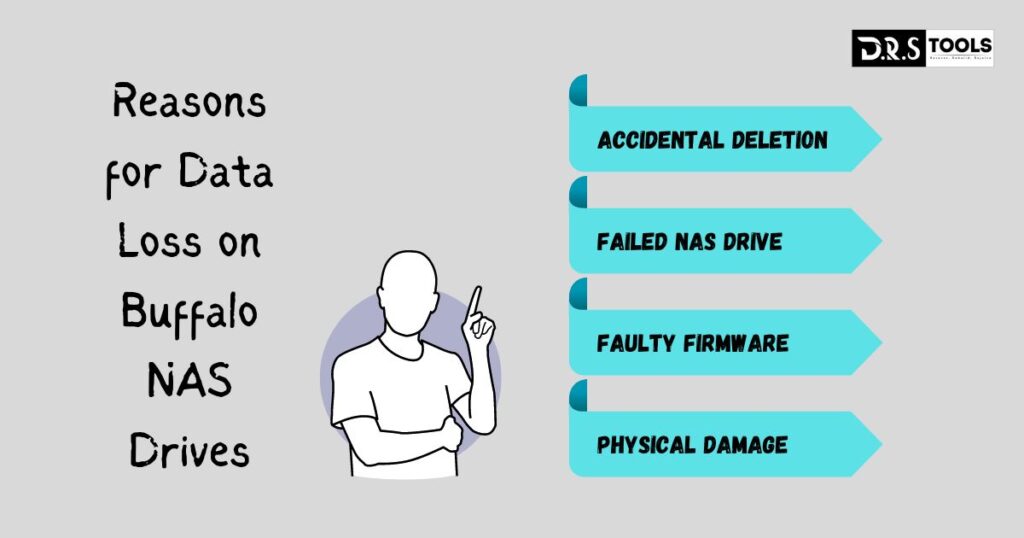
Common Reasons for Data Loss on Buffalo NAS Drives
Buffalo NAS is secure, trustworthy, easy to use, and of high quality. However, it may still result in data loss. Here are some of the reasons for data loss on Buffalo NAS drives:
Buffalo NAS Data Recovery Software
It can be difficult to recover data from a Buffalo NAS drive. It takes time and is not 100% guaranteed. Using reliable data recovery software is a great approach to recover data from a Buffalo NAS system. DRS Tools is an excellent choice. It is quite simple, and even beginners may use it easily.
- A variety of NAS drives, including Buffalo, Synology, WD My Cloud, and QNAP, are supported.
- Compatible with more than 200 file formats, including Word/Excel/PPT documents, photos (e.g., x3f file recovery), audio files, videos, compressed files, and more.
- High success rate and speed: easily and rapidly restore Buffalo NAS drives or other devices on Windows 7, 8, 10, 11, and Windows Server, with a success rate of more than 95%.
- Accidental deletion, disk format (for example, recovering data from a formatted drive), virus infection, inaccessible disk error, and so on are all possible data loss scenarios.
Comprehensive Guide on Recovering Buffalo NAS Hard Drives
Before you begin Buffalo NAS data recovery, detach the Buffalo hard drive and attach it to a PC running data recovery software. If your computer does not have an extra slot, you should also prepare a connector (for example, USB to SATA).
Download and install DRS, a reputable data recovery software. It will list all accessible drives. Hover your mouse over the Buffalo NAS drive, then click Scan.
DRS will initiate its two powerful scanning processes and quickly search for deleted or missing files. The Buffalo disk allows you to filter and preview files. Here are two approaches:
Click Filter and then choose a file type, such as Documents.
Expand the Other Missing Files tab and navigate to the directory holding the deleted files.
Once the scanning is finished, pick Buffalo NAS data and click Recover xxx files. You’ll then be asked to choose a location. Please choose a different location instead of the old one.
Notes:
- The restore button will reveal the number of selected files as well as their total size. You can use it to check the recovered files’ integrity.
- Saving the recovered files in their original place may result in data damage or further loss.
- You can also use it to recover WD My Cloud, Seagate NAS, Synology NAS, and other devices.
- DRS Tools provides data recovery software. For greater data quantities, you must upgrade to the advanced edition.
Additional Support - Buffalo Data Recovery Service
Buffalo partnered with DriveSavers, an award-winning data recovery business, and said, “No data retrieved, no charge. There is no shipping fee”. Unlike typical services, it provides secure network connected storage in addition to direct attached storage. This way, data will be uploaded directly to your new NAS device without the need for an additional device.
If you register an eligible TeraStation and the device is still under warranty, DriveSavers will provide free data recovery services for devices with minor logical faults. Receiving NAS as target media incurs significant costs.
To recover a Buffalo NAS hard drive, go to the company’s official website. Fill out the necessary information and submit your request. It will test your gadget for free and contact you via the email address you provided. The pricing may differ based on the severity of the data loss. If you accept, they will begin a data recovery service and return your data (if the recovery process is successful).
Useful Buffalo NAS Data Protection Solution
To maintain the security of your stored files and documents, consider using free Windows backup software AOMEI Backupper Standard to backup your Buffalo NAS system.
- It allows you to schedule manual or automatic backups on a daily, weekly, or monthly basis, as well as for certain events and devices.
- You can store your data to another NAS device, as well as an external hard disk, USB drive, network drive, or cloud storage.
- With its Create Bootable Media capability, you may backup your Buffalo NAS without having to launch Windows.
Download and install AOMEI Backupper Standard, a free backup software. Launch it, then choose Backup and File Backup.
Click Add Folder or Add File, then Choose Share or NAS.
Select Add Share or NAS Devices. To add the Buffalo NAS, enter the display name, network path, user name, and password, and then click OK.
Choose one or more folders on Buffalo NAS.
Click the menu, choose a local path, share, NAS, or cloud drive, and specify a device, such as an external disk.
- Click Schedule Backup > Enable Schedule Backup, then choose Daily, Weekly, Monthly, Event Trigger, or USB Plug In.
- Daily, weekly, or month-to-month: Select one consistent with how frequently your Buffalo NAS facts updates. In popularity, the backup c programming language is shorter as statistics is modified extra frequently.
- Event triggers include system startup, shutdown, user login, and user logoff. Choose them based on your work habits.
- USB Plug-in is a plug-and-pull feature. When the USB drive is plugged in, the Buffalo NAS is instantly backed up to it.
Finally, confirm the selected data on the Buffalo NAS system and click the Start Backup button to backup Buffalo data to an external hard drive.
FAQs for Buffalo NAS Data Recovery.
Struggling with Buffalo NAS data recovery? Here’s expert guidance and answers to common queries:
Step 1: Set up an Ethernet cable, connect the Buffalo NAS, and power on.
Step 2: Press the power switch. Wait until the power LED no longer blinks.
Step 3: Open a web browser and type in the IP address of the NAS device. If the IP address is unknown, use NAS Navigator instead.
Step 1: Connect your USB devices to the Buffalo LinkStation.
Step 2: Press the blue function button. It will automatically transfer data from the USB to the LinkStation.
Step 3: Once dismounted, safely remove the USB drive.
Step 1: Visit the Buffalo downloads page and enter the model number. Then, navigate to the firmware area and choose the firmware update utility.
Step 2: Right-click the zip file and select Extract All.
Step 3: Run the file TSUpdater.exe and pick the unit to update. Enter the password and click OK.
Conclusion
DRS Tools is a dependable and effective data recovery software solution for a variety of storage systems, including the Buffalo NAS. It allows you to quickly recover data from a Buffalo NAS device, whether it was mistakenly deleted or lost due to other reasons.
It features two advanced scanning methods and can recover 200+ file types with a success rate of above 95%. Not only Buffalo NAS devices, but also other NAS brands like QNAP, Synology, Lacie, Iodate, and others.
2 Responses